Icons are a common element in web designs. You can use them all over your Adobe Muse template to link to your social media, in your navigation menu or any other section that would only look poor with text.
Adobe Muse designers need to have as many web design resources as they can so they can create different designs according to their clients. Font Awesome is a big library of standard icons but if you are looking for a more modern styled icon, Ionicons is the bets option! You will get more than 700 free icons for you to use. Learn how to install Ionicons in Adobe Muse.
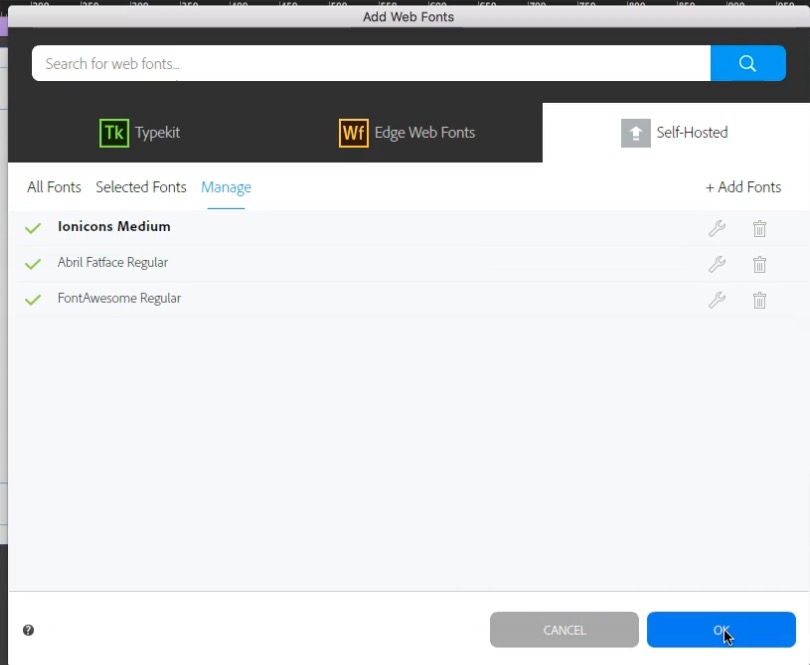
- Visit Ionicons.com and download the font. Open Muse and click on File->Add/remove web fonts. A window will popup and you must select “Self-hosted” tab to add the font.

- Drag the following formats: .eot, .svg and .woff and click on ok.
- Go to Ionicons cheatsheet and copy the icon that you want. When you paste it into a text frame, you will just see a black square. Open the Text tool and select “Ionicons Medium” font.The icons are actually fonts, so you will have to edit them in the text tool if you want to increase the size or change the color.

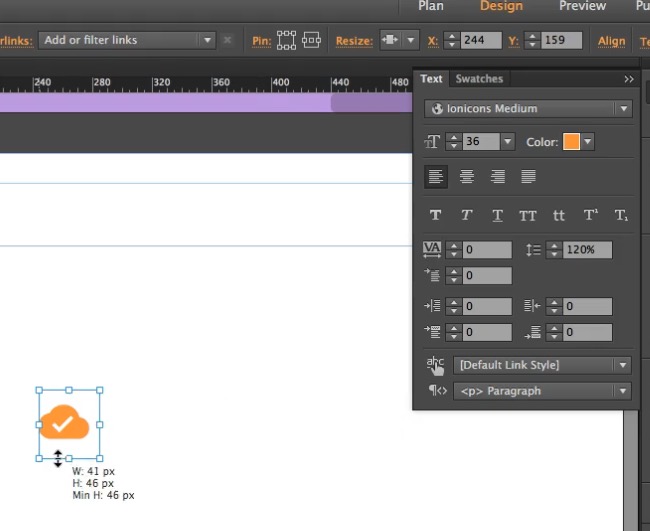 The icons are actually fonts, so you will have to edit them in the text tool if you want to increase the size or change the color.
Watch the tutorial for more detailed information.